|
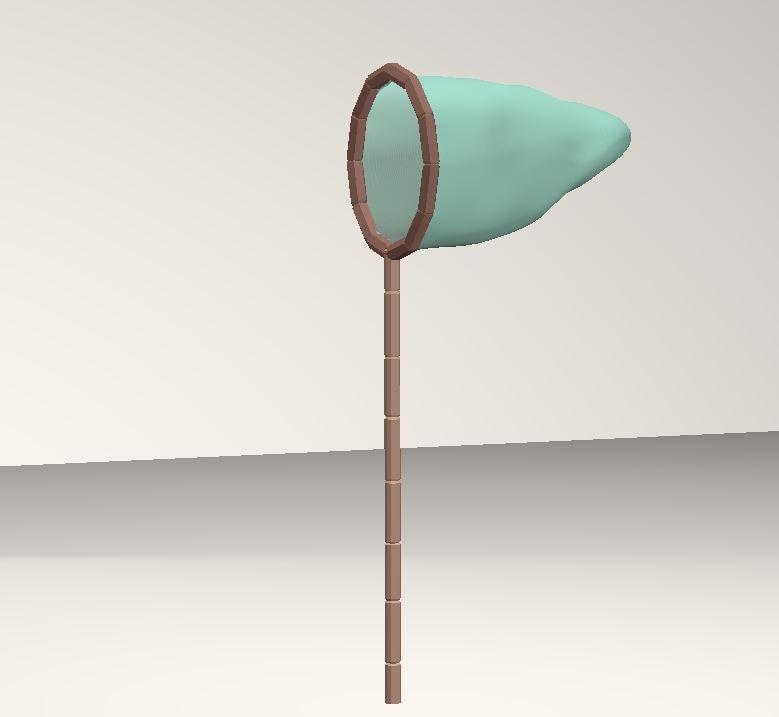
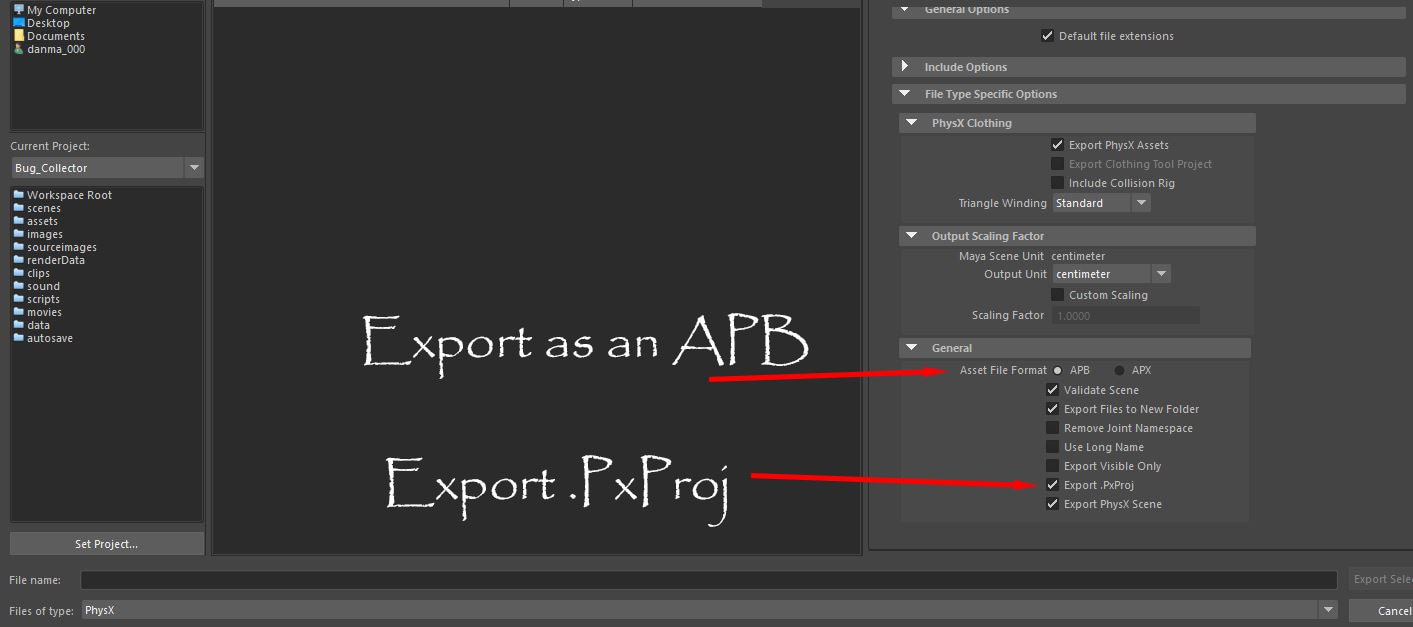
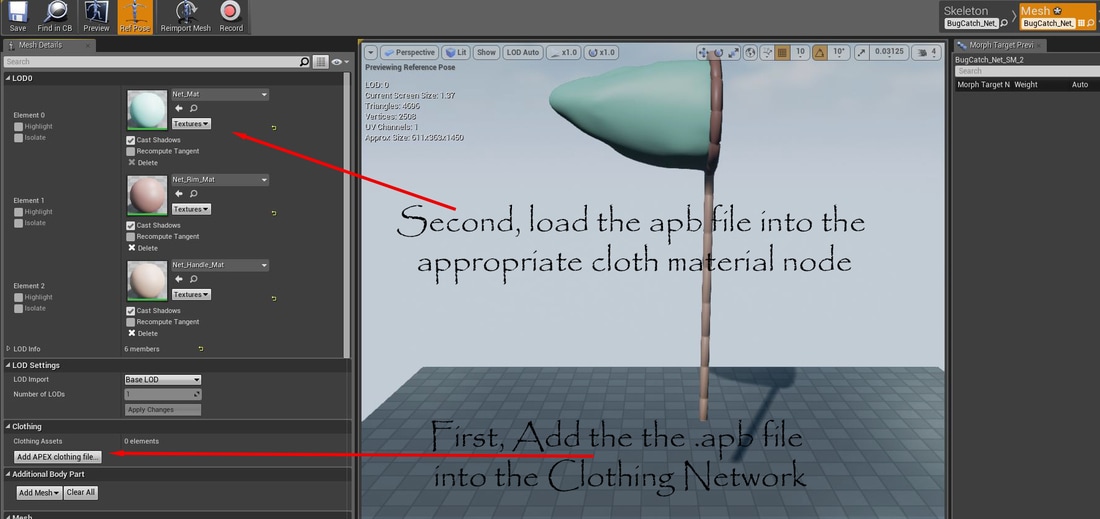
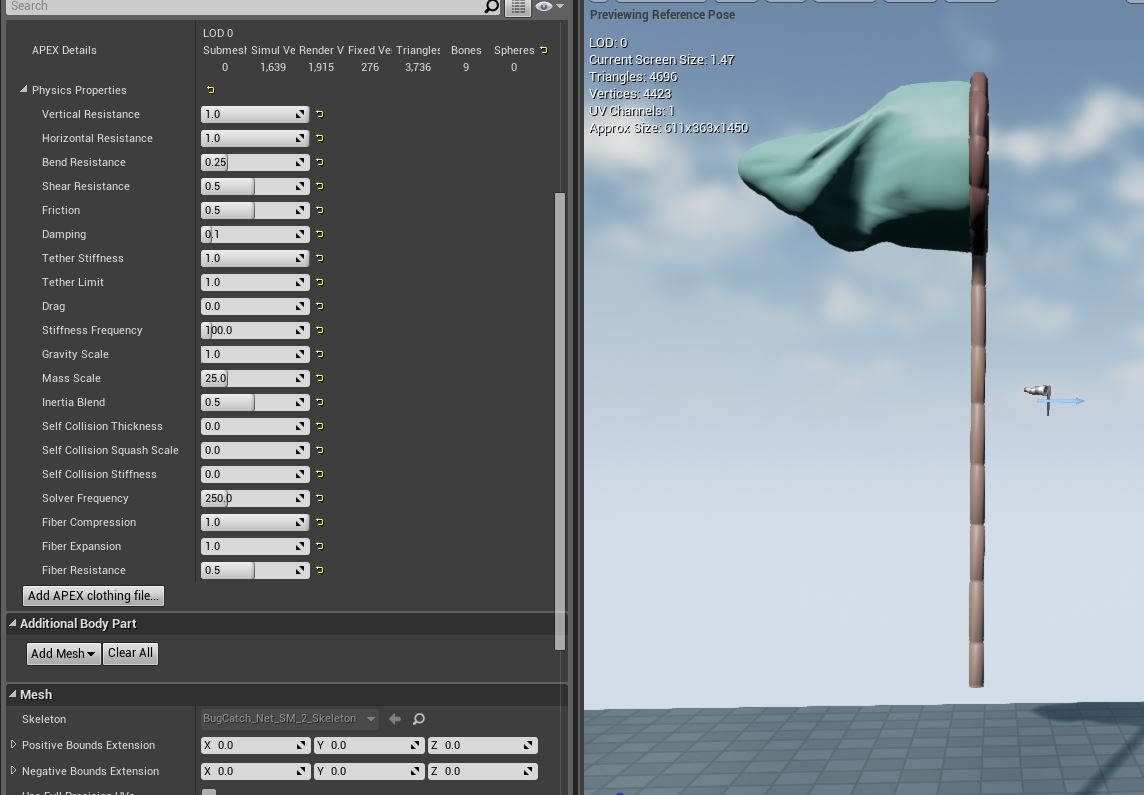
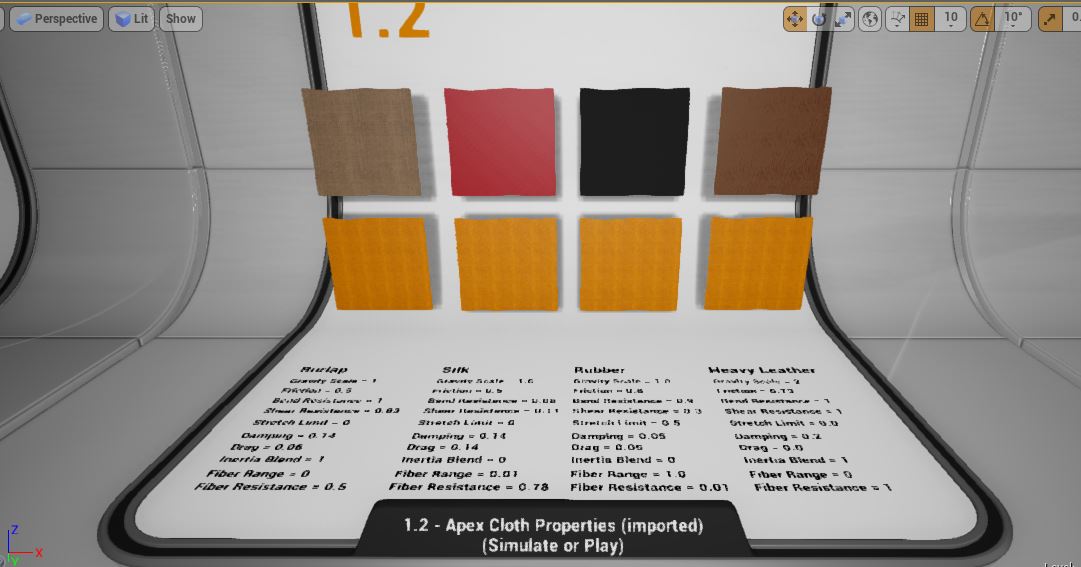
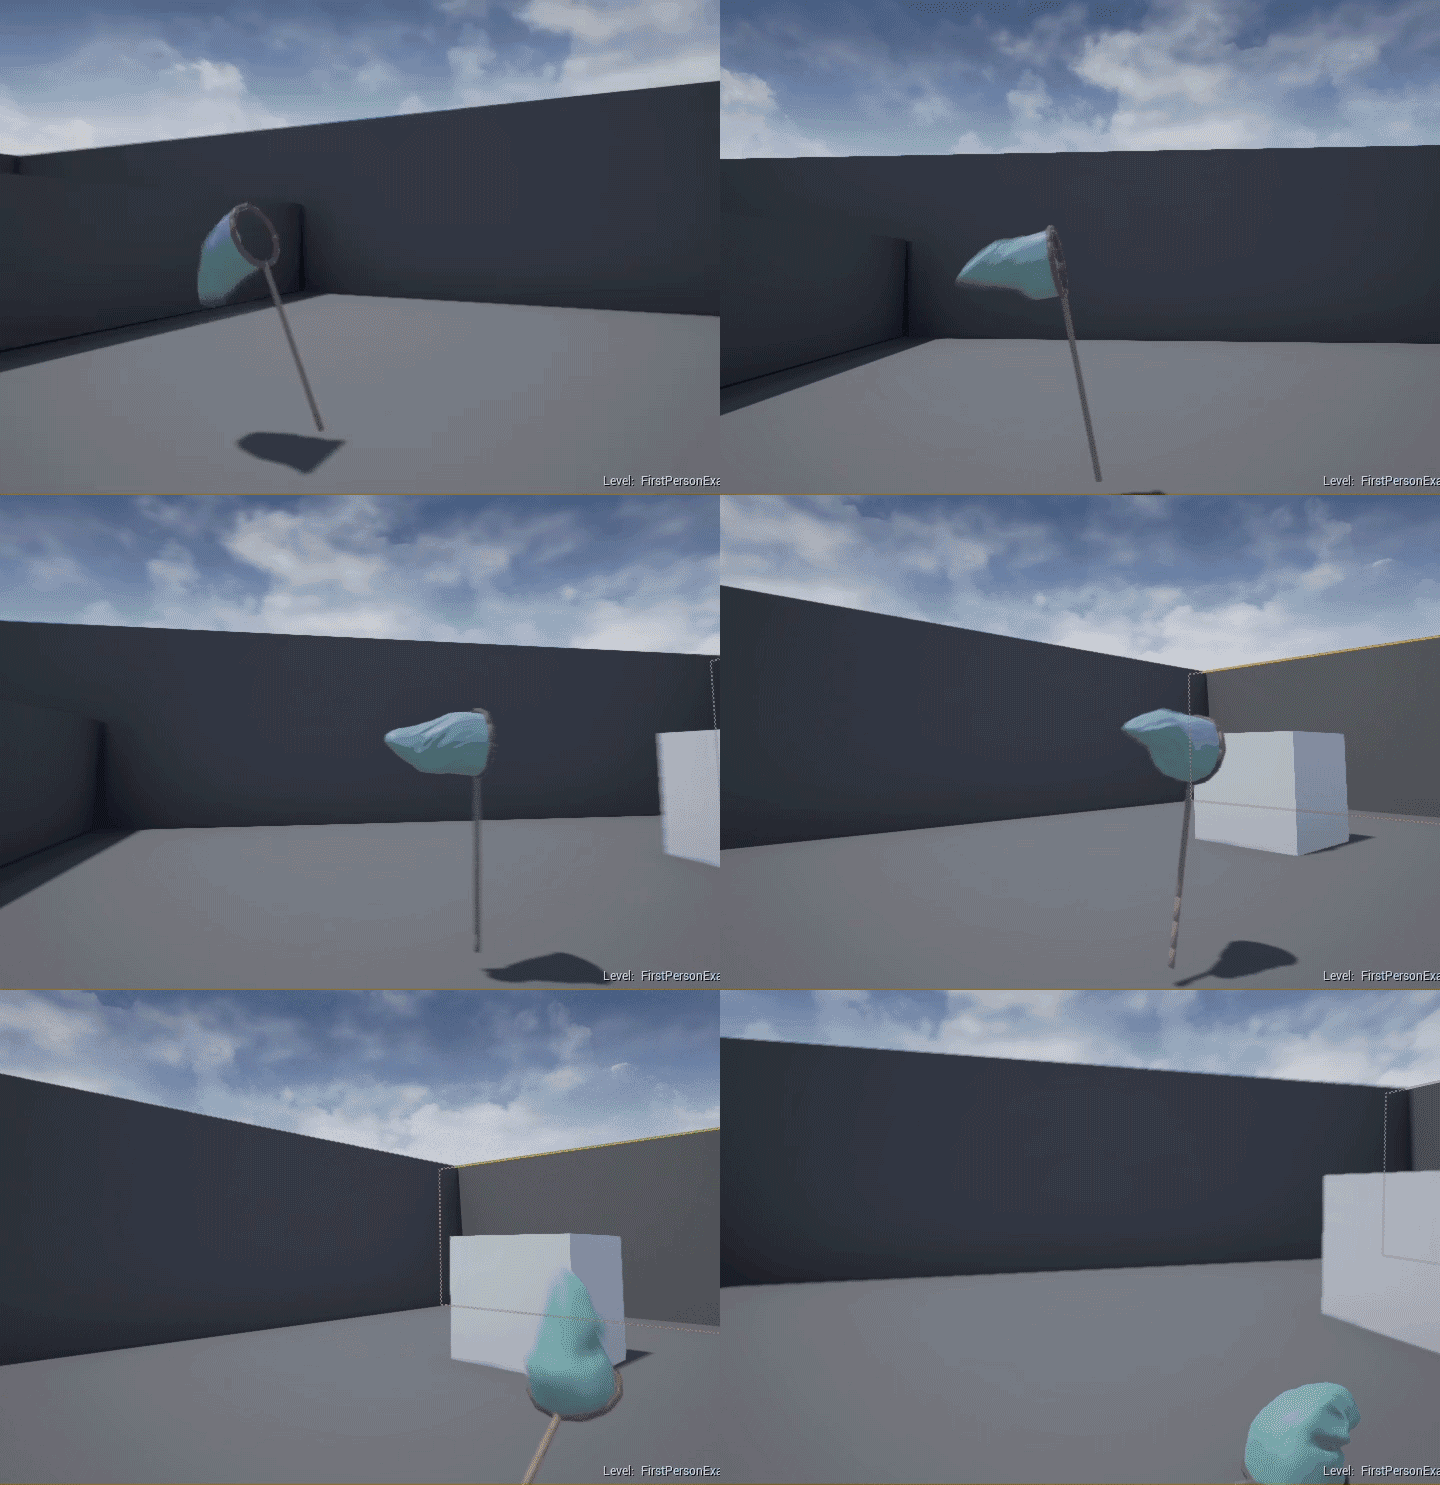
Hello Massive Multiplayer World of Social Media! I am Daniel Burchinal, and I create all of the Rigs and Animations that are a part of Fourth Axis, and our current project, Bug-Scout. Today I’m here to bring another Game Design Close-Up to our fans and the public, for our game in progress, Bug-Scout! The topic that I am going to be talking about is the implementation of NVidia’s Cloth PhysX plug-in for Maya LT 2016. When it came to needing realistic movement for our net within the game, I figured on trying out the tool in order to see if the results matched the look we wanted in Bug-Scout. The nice thing about the tool is that the workflow is designed to move from 3ds Max or Maya directly into Unreal, and the physics created is still able to be manipulated; as well as able to retain a hard edge look to match our artistic style. If anyone out there has tried this Plug-In from Nvidia for their own work, or would like to learn about how I approached it for our game Bug-Scout, I hope this Close-Up provides some insight on how get realistic cloth physics within a game. Our game’s main feature is your primary tool, your Bug Catching Net. The task of making this asset into a main attraction fell on my shoulders as I needed to design the way that the Net itself would move. Already having dealt with NVidia’s Cloth PhysX plug-in, I knew that the draping action that would be given would match what we needed for Bug-Scout, so I was off to the application, which began with the same step as any other animated object for Unreal: by creating my Rig. 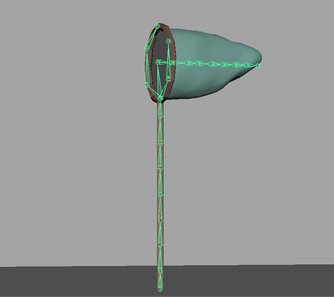 Before a Mesh can be turned into a piece of Cloth to function with PhysX, there must be a rig and skinning information already pre-generated. This allows for the portion of the mesh that will be turned into cloth to know where it needs to be grounded too, as well as providing a base layer of possible motion. 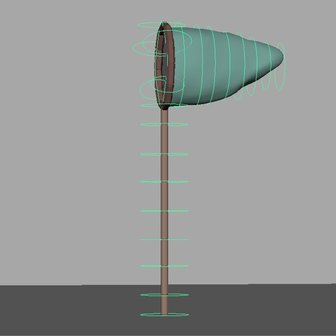 What I have done to make this process easier for myself is to start with separate models, per rig portions. In this case, Net and Handle. Then, I select the two meshes, (Net and Handle) and the Skeleton for the Rig, and skin. Therefore, my end result is two separate meshes, but held seamlessly together through movement based on the Child-Parent relationship of the Joint chain. Once the normal set-up is finished, and the mesh is ready to animate as normal, then it is time to add in the cloth PhysX portion. Make Sure to Start a New Save File! There are a few tutorials out there for the set-up process for creating the cloth rigid bodies and painting in Vertex Weights that allow for the physical manipulation within engine. https://www.youtube.com/watch?v=uTOELBNBt04 This one is my favorite, as the director is using maya, and it isn’t too old. Key Steps - 1. Create new Materials for each Cloth Object 2. Skin as usual 3. Play button in Maya Timeline does not effect Physic motion in Maya, you must use the Play button within the PhysX toolshelf. (Super Frustrating Problem I had first time) Unfortunately, it is a different patch version of the PhysX toolset being used than what I have on Maya LT 2016, so when it comes to exportation, there are a few key steps to be sure of. This will create a separate folder that contains a number of files, with these, go to Unreal, and within your Static Mesh Properties, assign the apb into the correct locations. Now that your cloth is all hooked up within Unreal, you can begin to tweak the values available, within the Clothing Network. These can give a pretty wide range of cloth types once you get to playing with them. Conveniently, within the Unreal Content Example maps, Within the Cloth map, there are values already given by Unreal for different cloth types, like Burlap and Silk. Once everything is said and done, there you have it! Real-Time dynamic Cloth physics within Unreal engine from Maya! Here is a video of an older version that I finished, can anyone detect a problem and give me some critique?
0 Comments
Leave a Reply. |
Fourth Axis NewsNews about the development of Fourth Axis Game's properties and industry relevant news. ArchivesCategories |



 RSS Feed
